Lego Part Designer
I made a web app that lets you design your own Lego Technic parts and save them as printable STL files. You can check it out here.
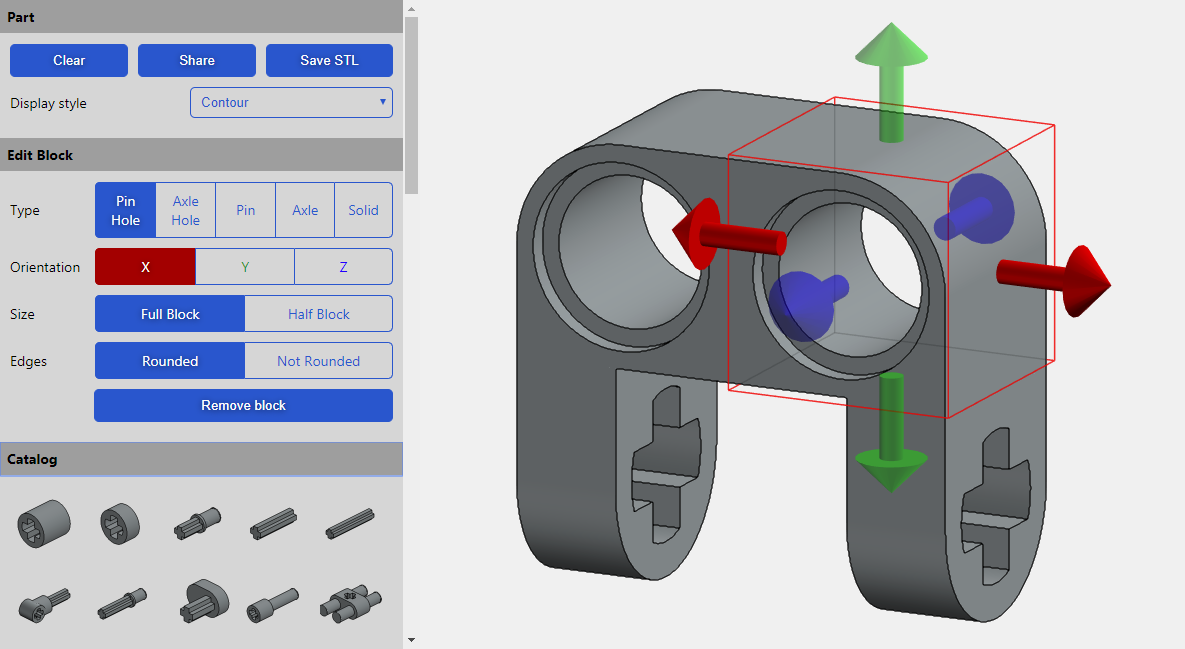
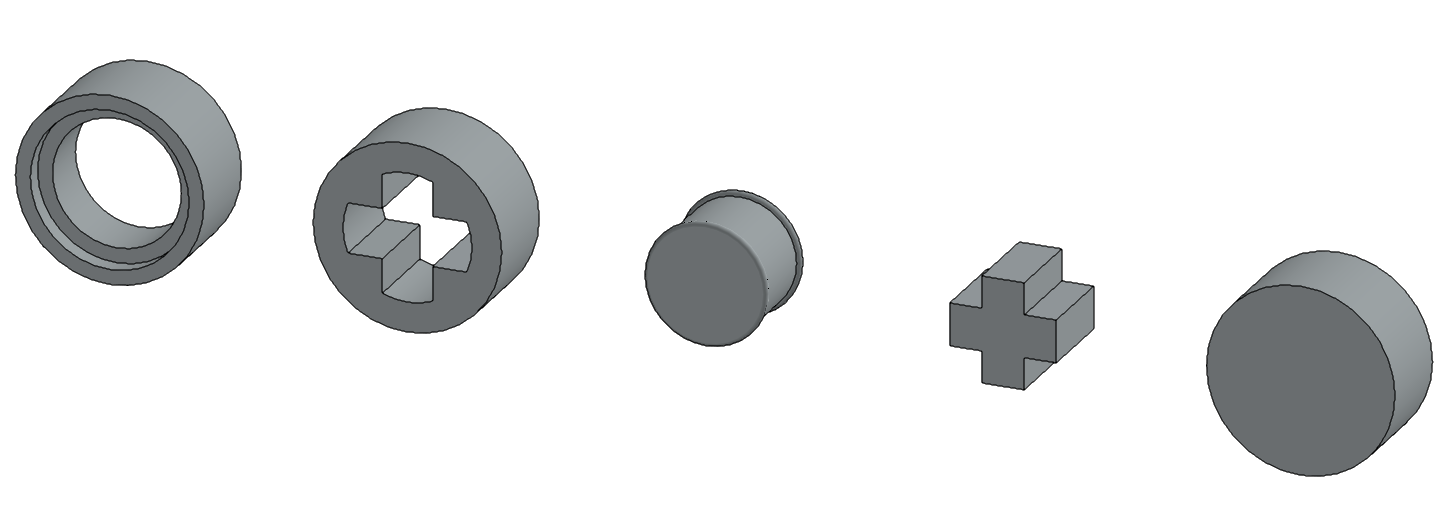
I got the idea for this project when I was building with Lego parts and wondered how many of the common parts can be described with a simple rule set. The system I came up with assembles the parts out of five basic blocks: Pin Hole, Axle Hole, Pin, Axle and Solid.
Internally, each block consists of four small blocks. By default, double sized blocks are created that consist of eight small blocks. All blocks are placed using coordinates of the small blocks so that they can be placed at "half" positions.
To accomodate 0.2 mm margins at the outside faces of the part, the small blocks are split further into three tiny blocks per dimension. The two outer tiny blocks have the size of the margin and the center tiny block takes the remaining space. Note that a tiny block can be in the center on one axis and in the margin on another. The code has some logic to determine which tiny blocks are part of the model and which aren't. Finally, before rendering the tiny blocks, they are merged to lower the number of polygons.

The app is written in TypeScript and uses WebGL to render the model. The difficult part is generating the mesh for the model. This is done directly in the TypeScript code, without using a CSG library. There are no big surprises in the implementation, just lots and lots of corner cases to handle, many of them literal corner cases. The source code for this project is available on Github.
One problem with TypeScript is its lack of support for operator overloading.
This project uses lots of vector operations and without operator overloading, I can't write v1 = v2 + v3 * f;, instead I have to write v1 = v2.plus(v3.times(f));.
This can make the code unnecessarily cluttered.
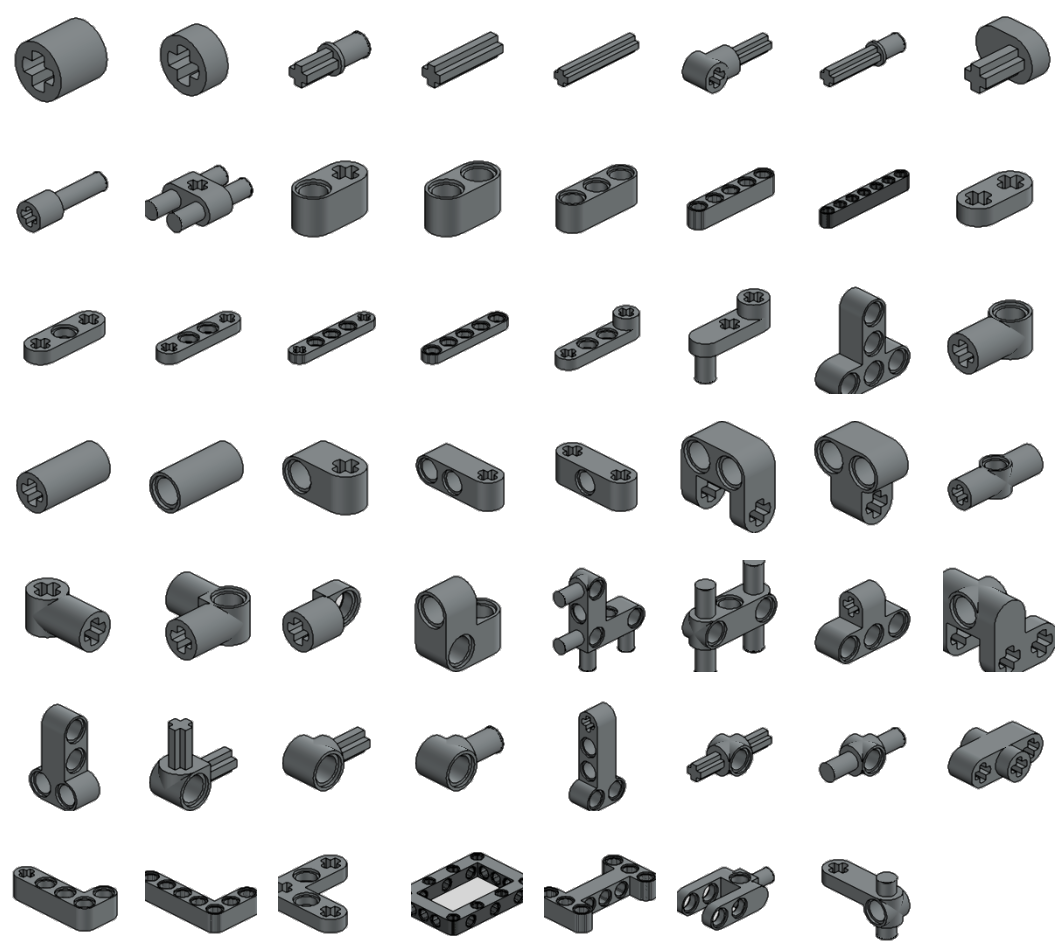
The app features a catalog that shows a selection of existing Lego parts that can be made with this system. Of course the point of this tool is to make parts that don't already exist, but this can give you some inspiration.
The preview images for the catalog are not stored on the server. Instead, they are rendered using the same code that renders the model in the editor.
Orrery gear box
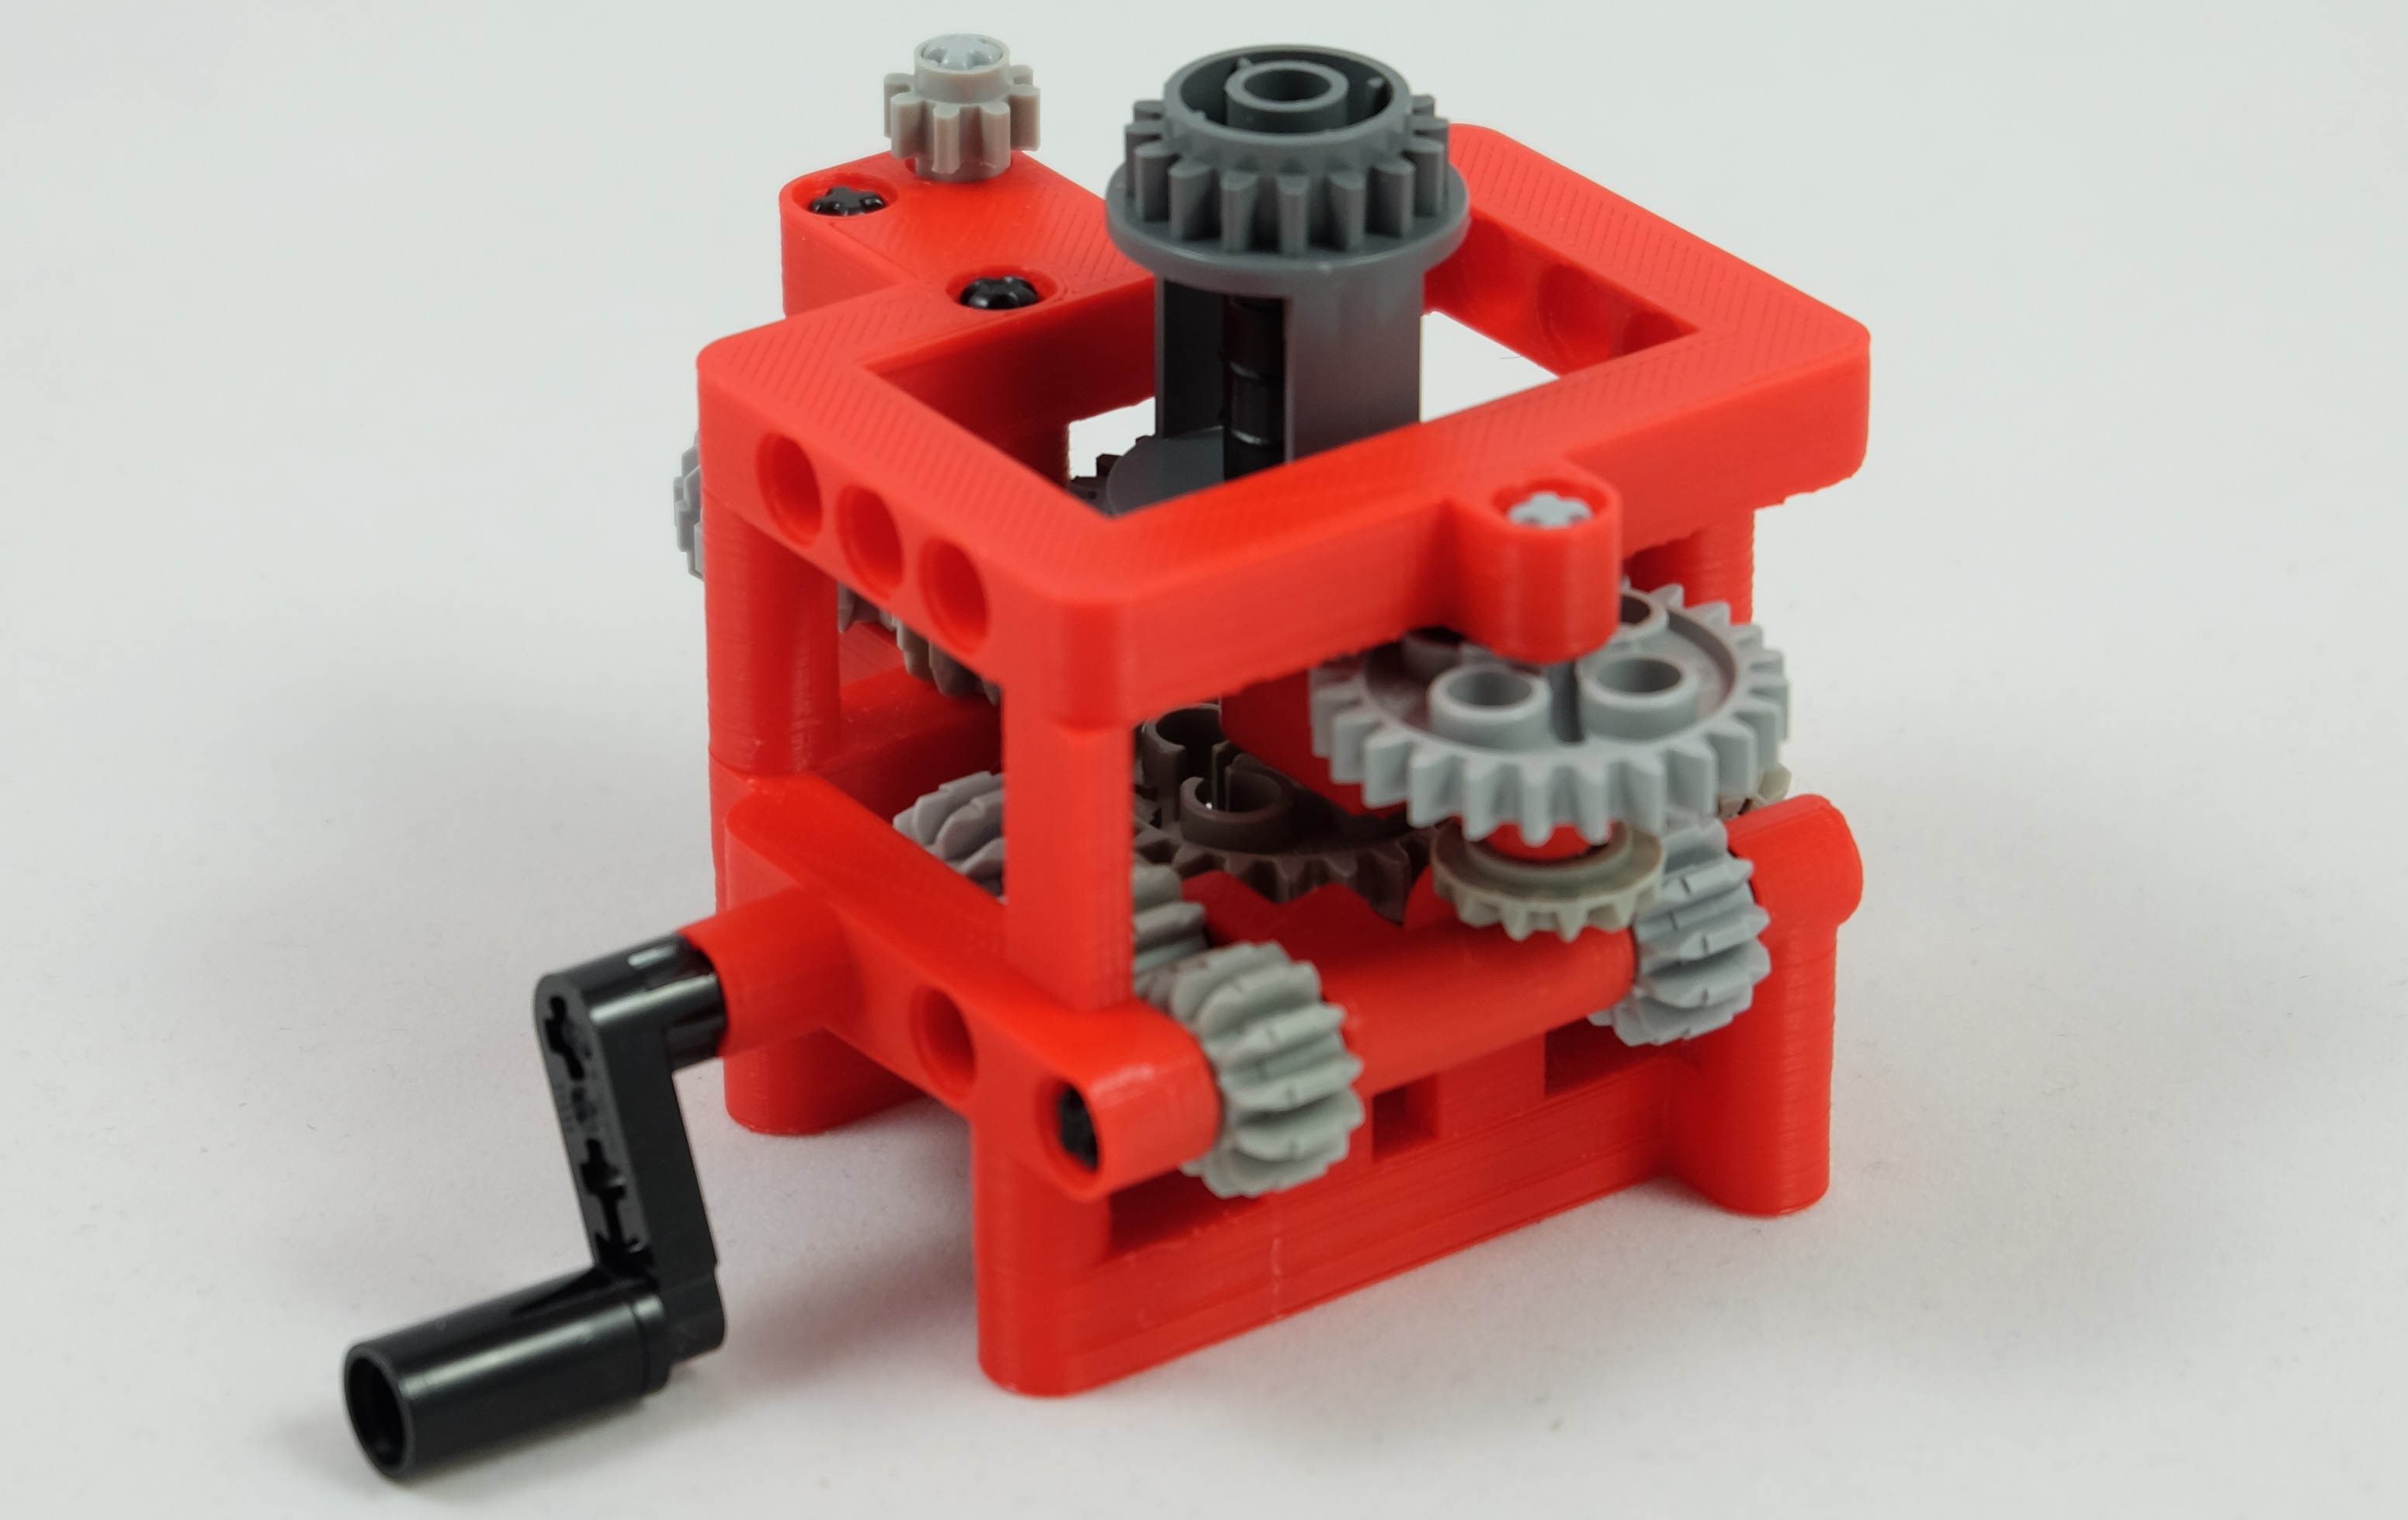
To demonstrate the practical use of this app, I made a gear box for a Lego orrery. The orrery is based on a design from JK Brickworks. I took the sun, earth and moon design from that model and designed everything else myself.
Here is the gear box in the part designer:

After printing and adding gears, it looks like this:

And finally, here is the completed orrery:
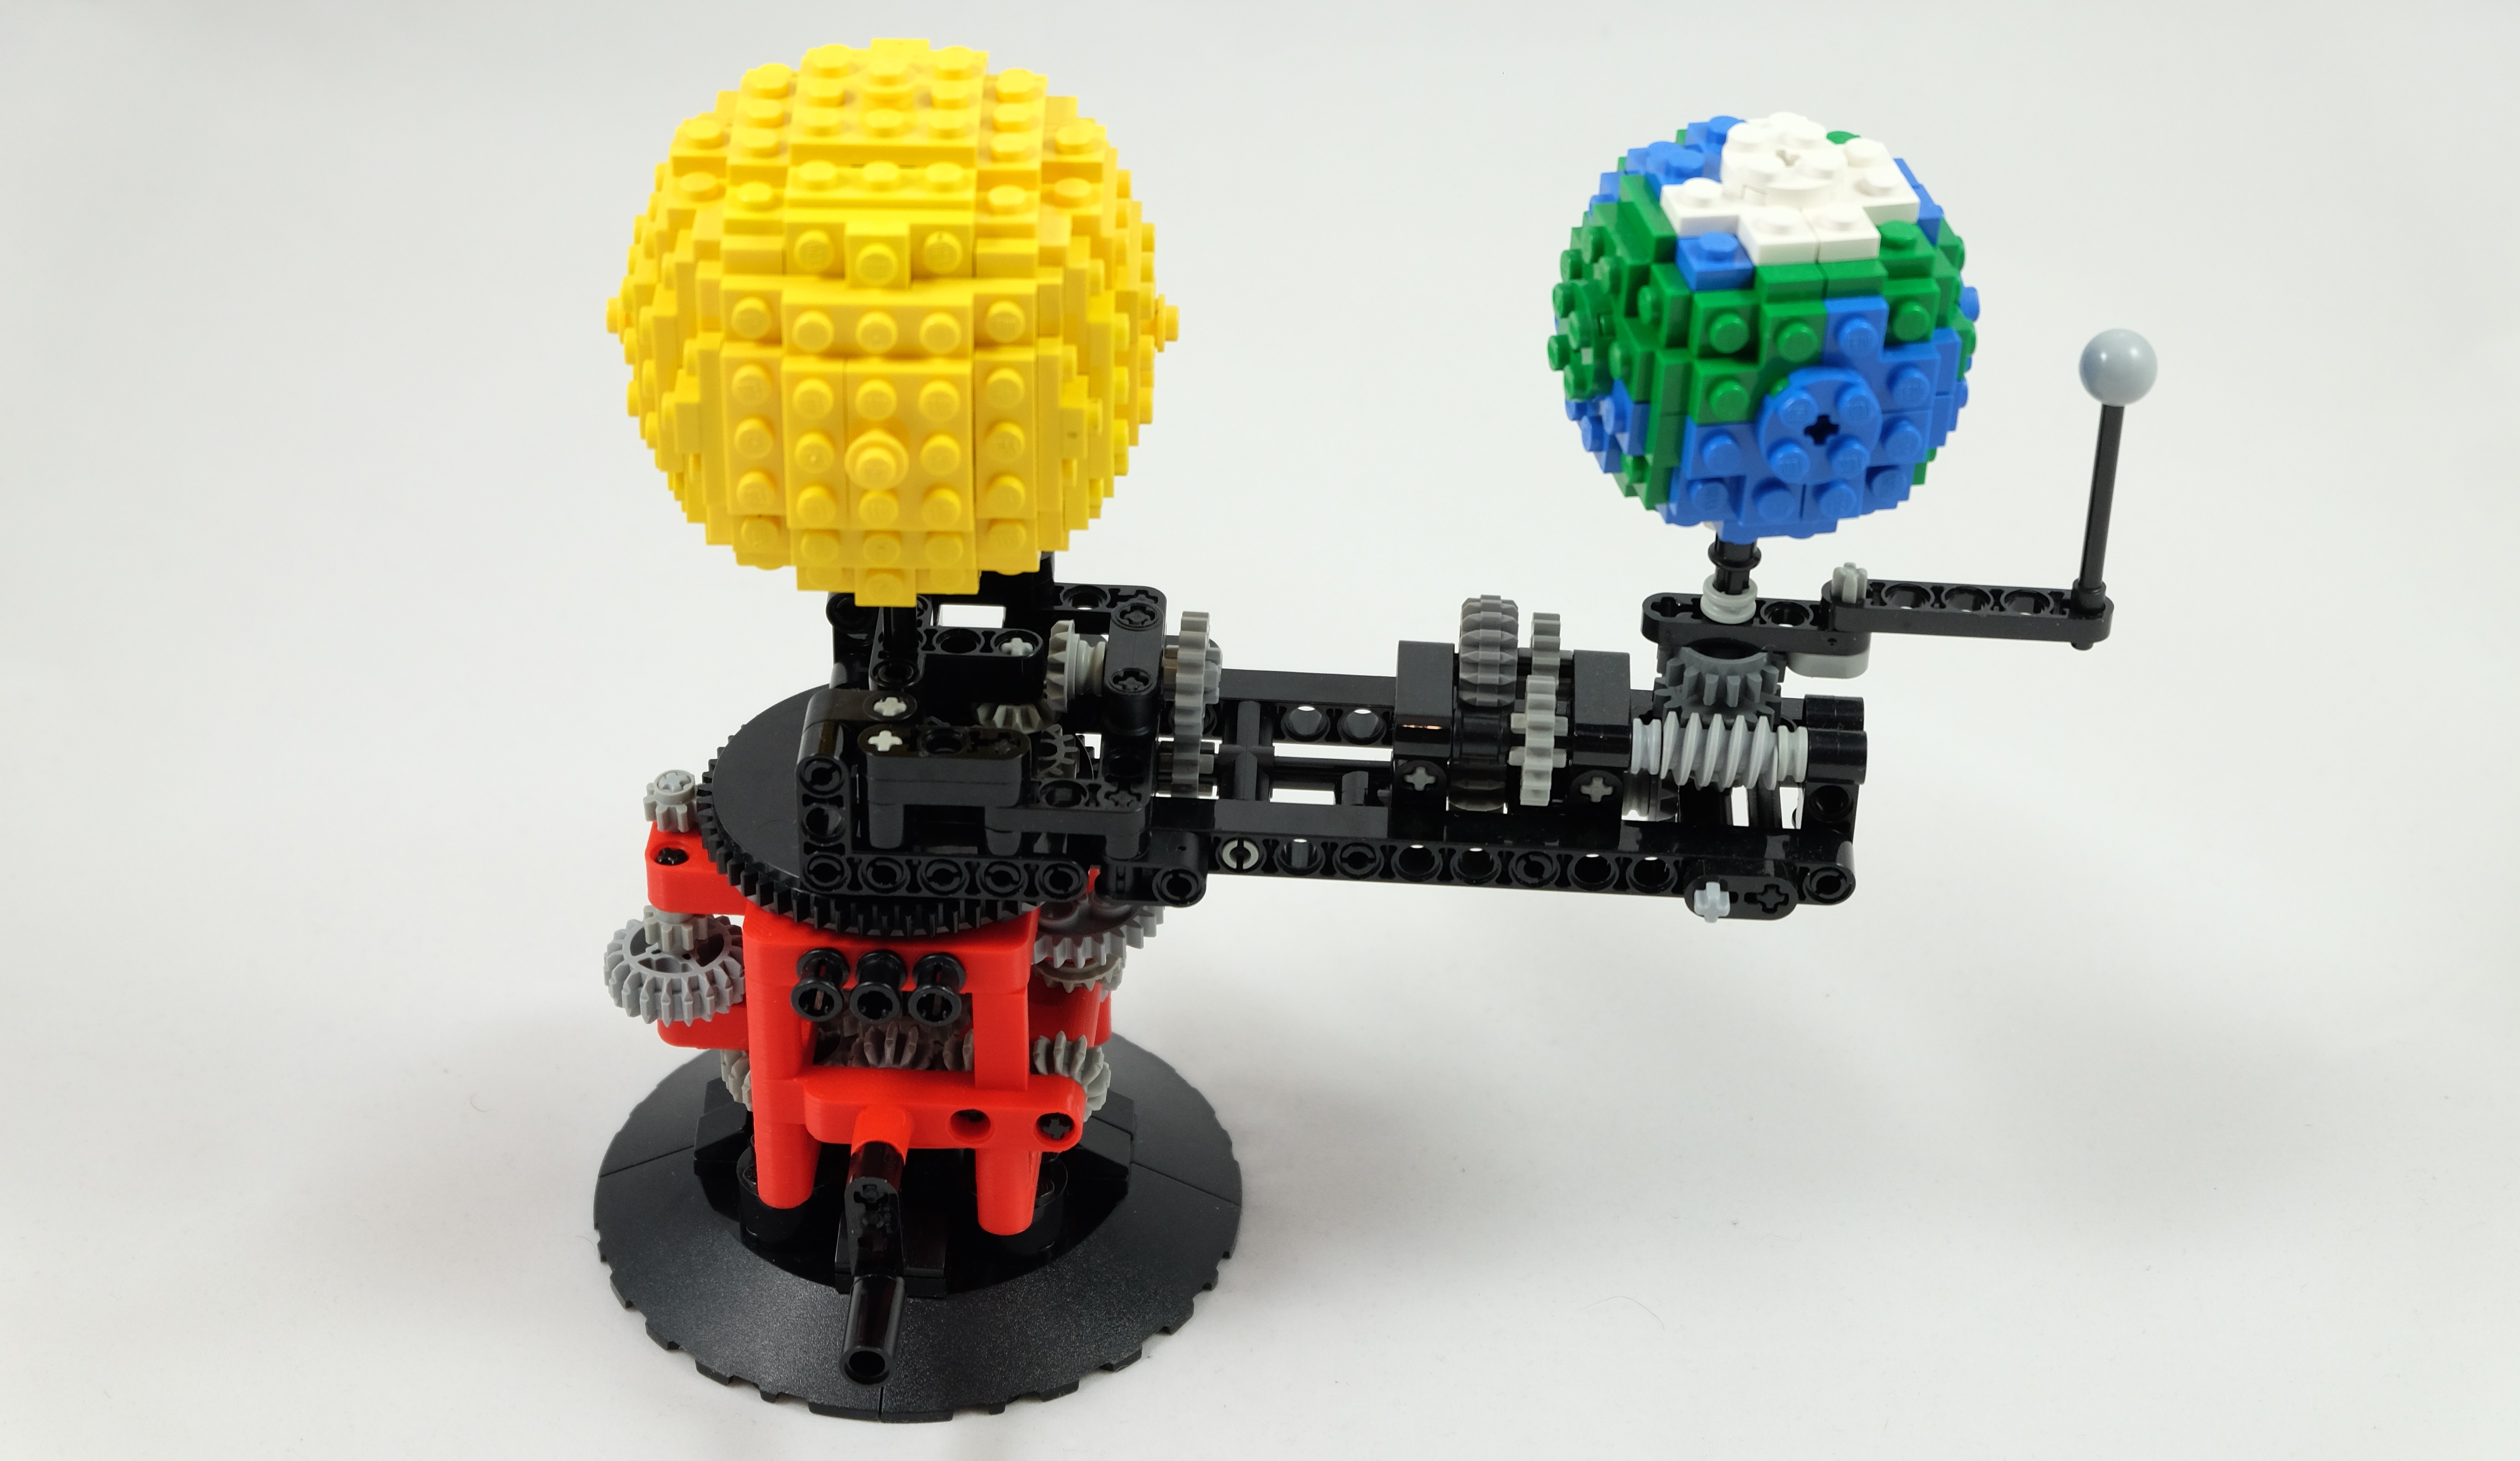
The gears run reasonably smoothly in the printed part. Choosing the size of the axle holes is a tradeoff between having too much resistance and being too loose. Of course the real, injection molded parts have tighter tolerances than one can achieve with a consumer 3D printer. This example shows that 3D printed parts can be combined with original Lego parts. One advantage of printing parts like this is that it saves you the time to figure out how a structure can be made with existing Lego parts.